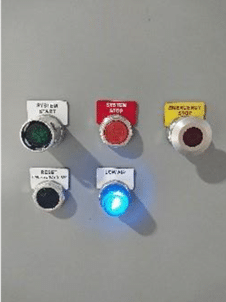
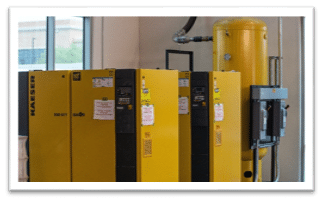
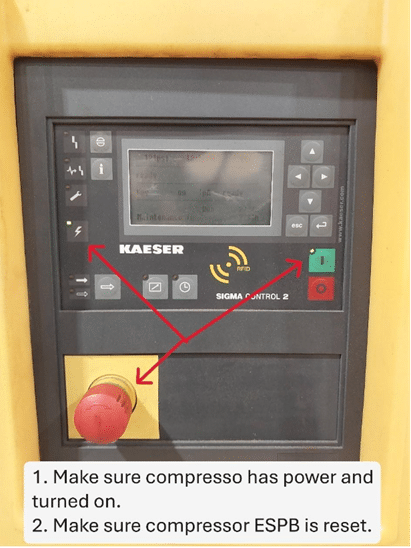
1. Ensure power is being supplied to the compressor equipment and is on.
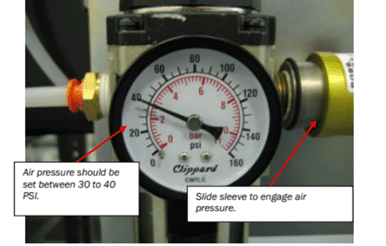
2. Ensure sufficient air pressure is being supplied to the conveyor regulator. If not, set air pressure to the manufacturer’s requirements.
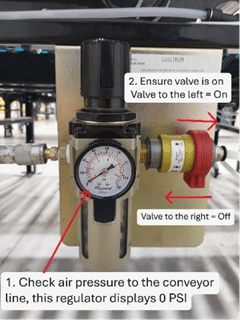
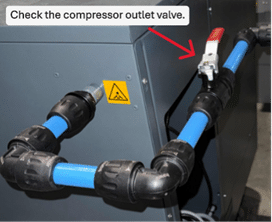
3. Ensure all compressor outlet valves & valves along the pneumatic pipe run are open.


![]()


1. Check the conveyor electrical along the stopped conveyor.
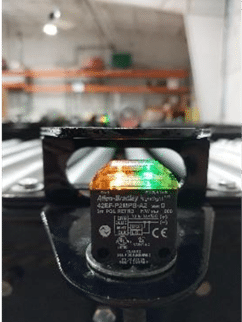
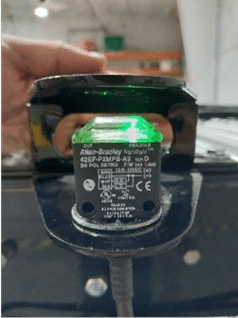
2. How to align external sensors:

3. Once aligned, flag the sensor a few times and confirm the sensor changes state and signal is being displayed on the HMI.

Emergency device with proper tension.


1. LOTO control panel for the conveyor system.

2. Locate the tripped breaker and cross reference schematics to ensure it’s the right one. Investigate and correct problems before resetting breakers

3. Turn the knob until it locks into the reset position. Close panel door, remove LOTO and energize the control panel.
4. Ensure area is clear and safe, then press the panel and start push button.

5. Review area and ensure equipment turns back on and monitor.


Bad scan reads & barcode examples:
Red light =, bad label, no label, and multiple labels.


Step by step for cleaning a barcode scanner:


Ethernet I/O :

1. Ensure device has power and is turned on.
2. Confirm Link 1 and Link 2 status lights.
3. Ensure network cables are seated correctly and firm.

4. Check network cables for any damage along the cable path
5. Disconnect cable causing problems and check with a network tester.
